 English

Introduction to Ashampoo Photo Optimizer 9
What is Ashampoo Photo Optimizer 9?
Ashampoo Photo Optimizer 9 is a photo editing software built for users who want quick and professional-quality image enhancements. It combines one-click optimization with manual editing tools, making it suitable for beginners, hobby photographers, and anyone managing large photo collections.
Key Features of Ashampoo Photo Optimizer 9
-
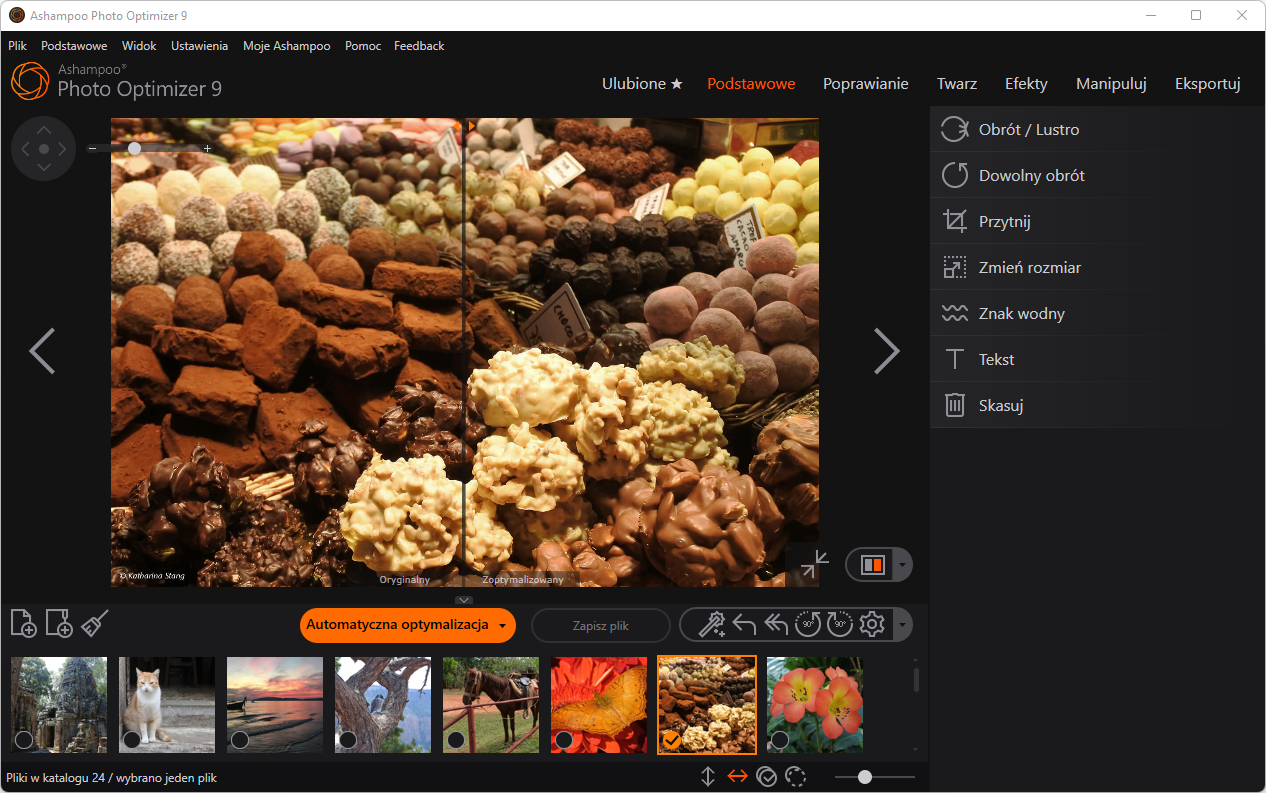
One-Click Optimization: Automatically improves brightness, contrast, color balance, and sharpness.
-
Batch Processing: Edit multiple photos at once for maximum efficiency.
-
Manual Adjustments: Fine-tune exposure, saturation, and color temperature.
-
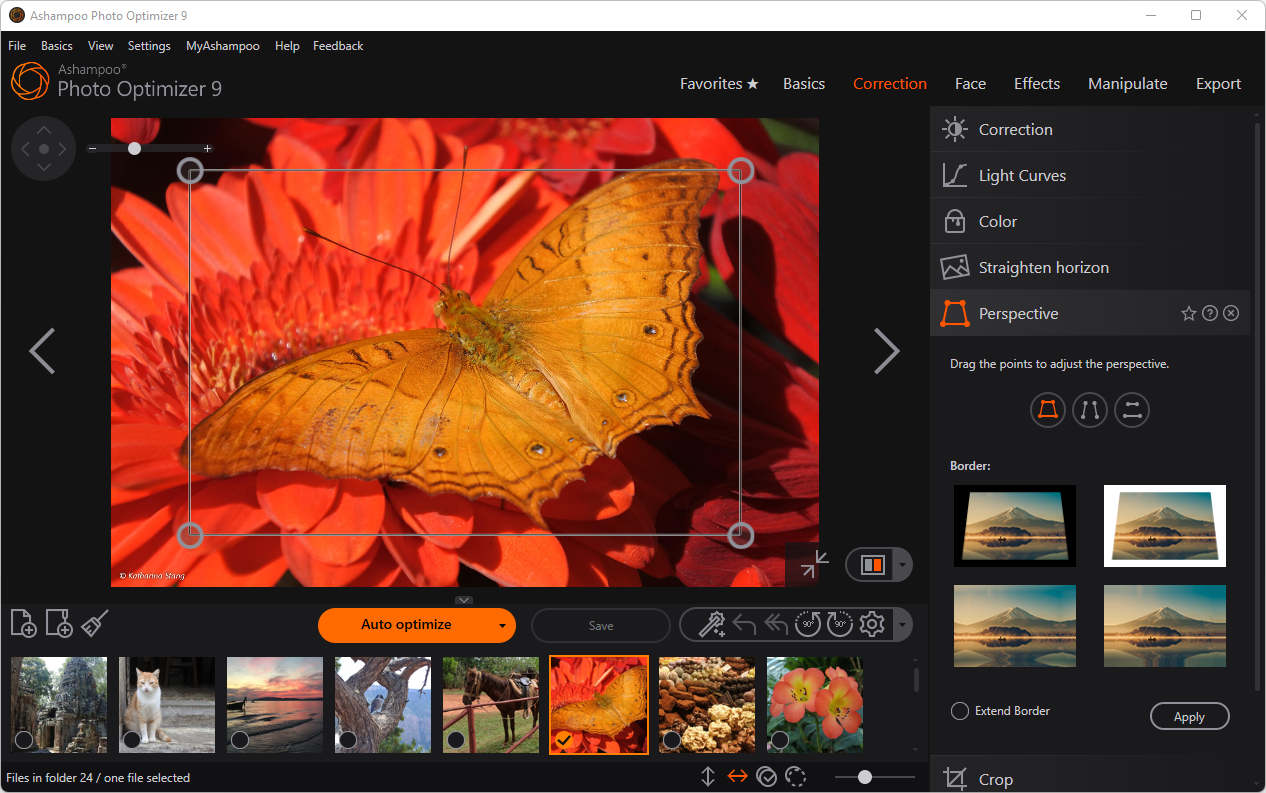
Retouching Tools: Remove red-eye, fix blemishes, crop, and straighten horizons.
-
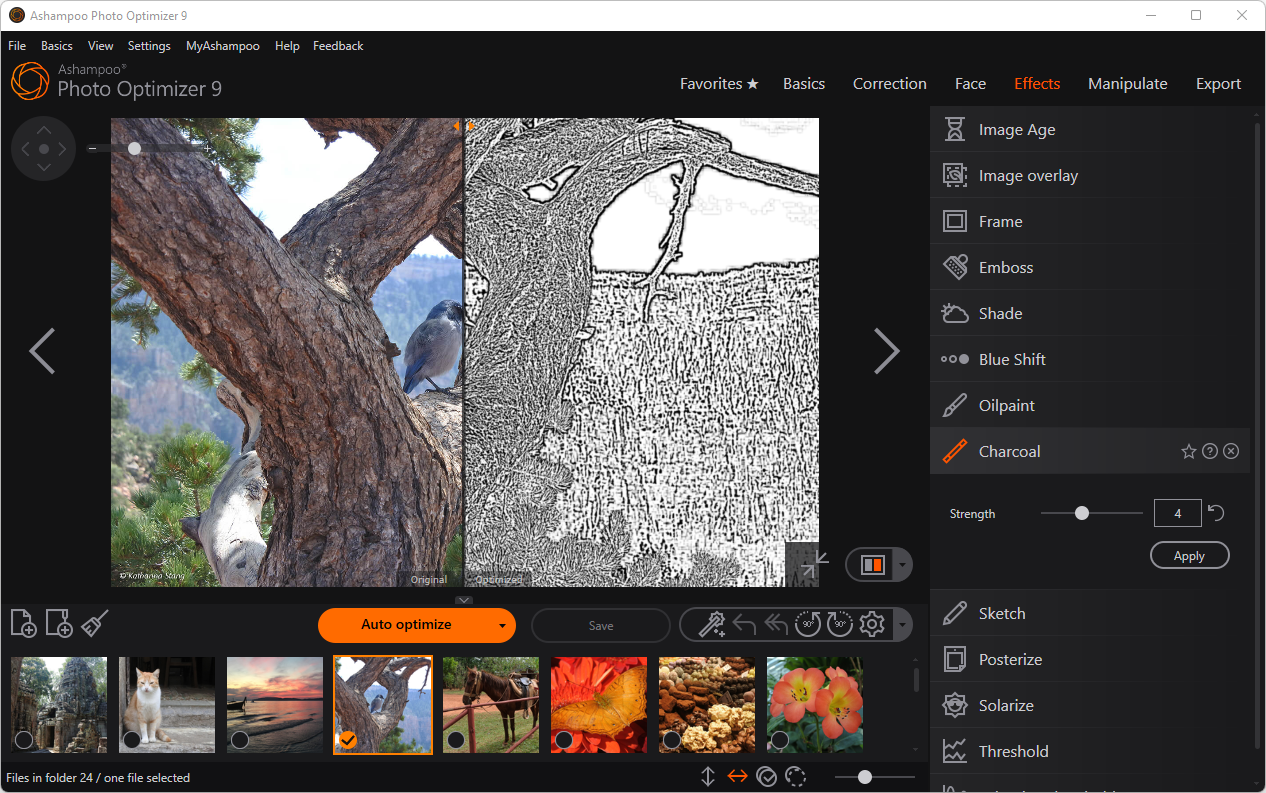
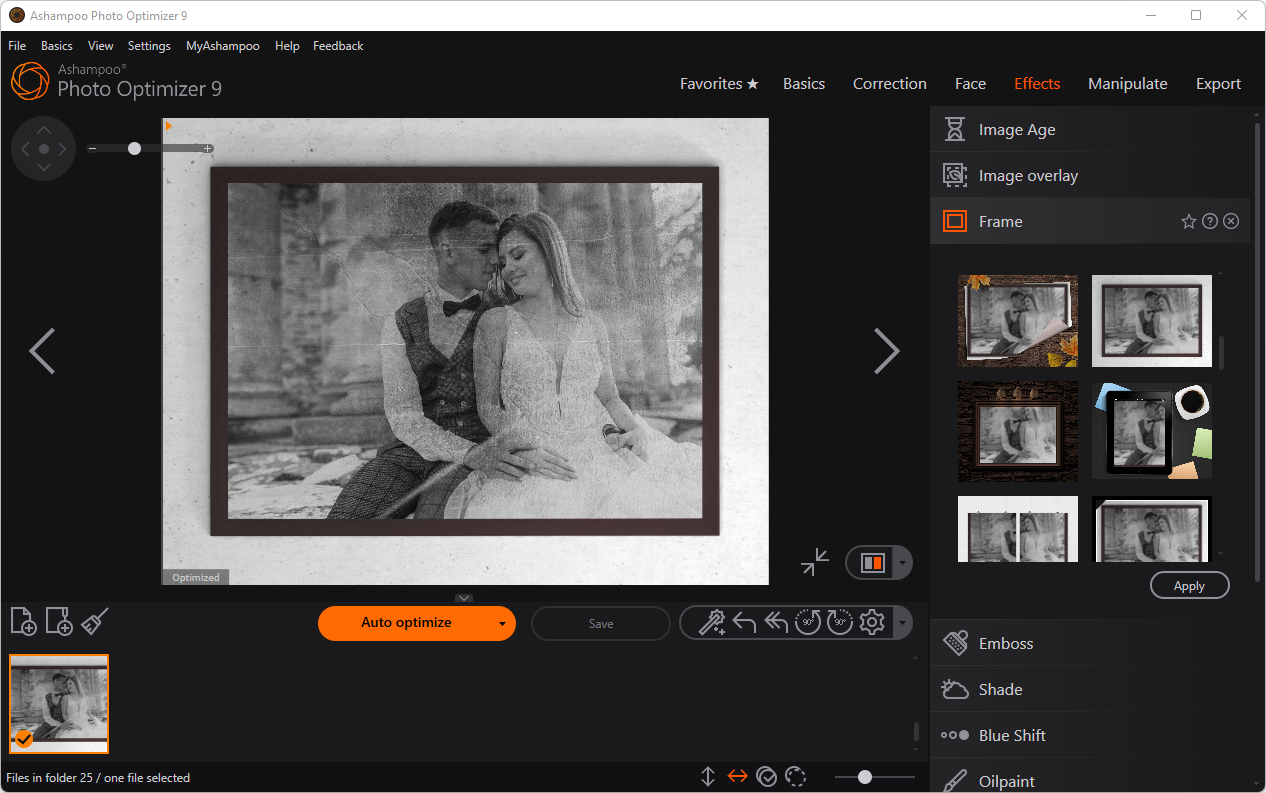
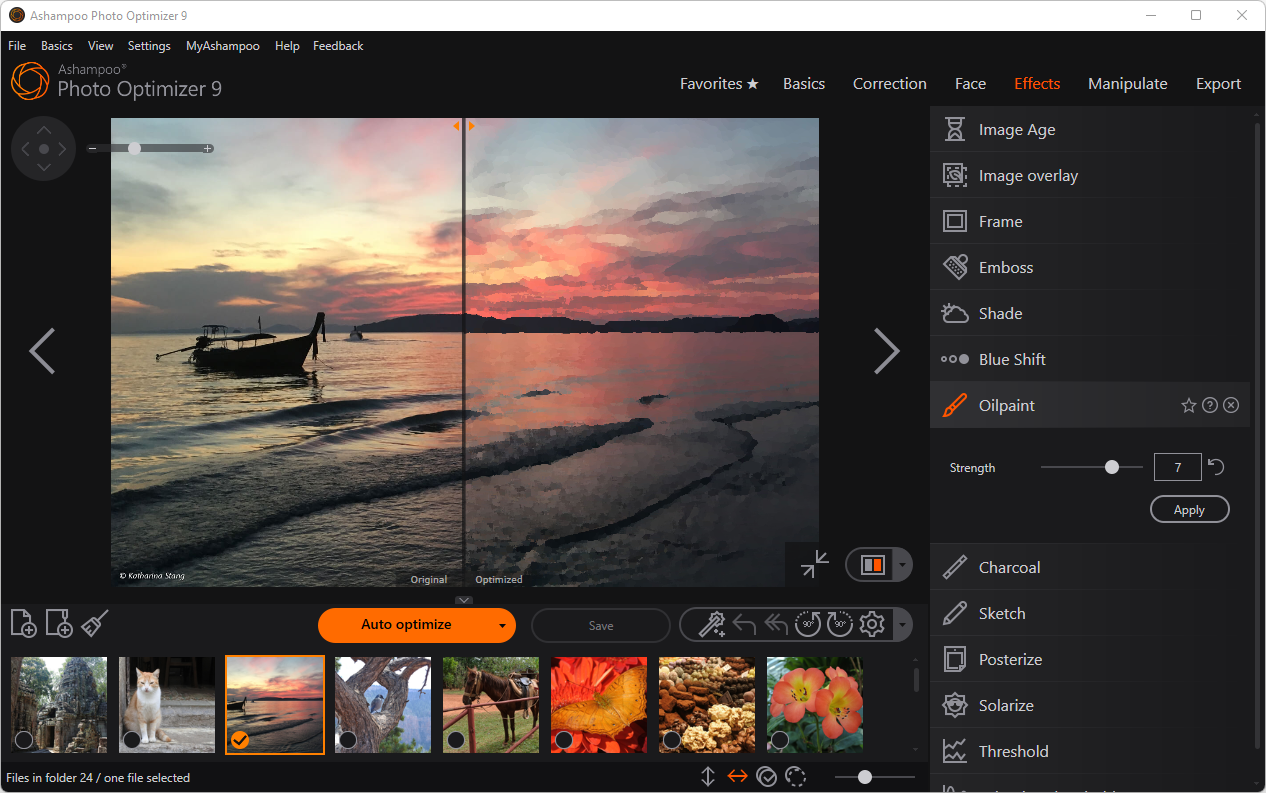
Creative Filters and Effects: Apply artistic styles and filters for unique results.
-
Non-Destructive Editing: Restore original images anytime with backup and restore options.
-
User-Friendly Interface: Clean, modern design for easy navigation.
System Requirements
-
Windows 10 or Windows 11
-
64-bit operating system recommended
-
Minimum 4 GB RAM
-
Internet connection required for activation
Benefits of Using Ashampoo Photo Optimizer 9
-
Saves time with automatic photo enhancement.
-
Delivers professional-quality results without advanced editing skills.
-
Efficiently handles large photo collections with batch processing.
-
Offers creative flexibility with filters and manual controls.
Who Should Use Ashampoo Photo Optimizer 9?
-
Casual users who want quick photo improvements.
-
Hobby photographers looking for simple yet effective editing tools.
-
Anyone managing large photo collections who values speed and efficiency.
How to Activate Ashampoo Photo Optimizer 9
Step 1: Install the Software
-
Download Ashampoo Photo Optimizer 9 from the official Ashampoo website or Microsoft Store.
-
Run the setup file to begin installation.
Step 2: Enter Your License Key
-
During installation, you will be prompted to enter your license key.
-
If you received the key via email or digital download, copy it to your clipboard.
-
Paste the license key into the activation field.
Step 3: Activate the Software
-
Click Activate now to validate your license key.
-
Once validated, the installation continues automatically.
Step 4: Complete Installation
-
After activation, click Next to finish the installation process.
-
The program will now be fully unlocked with all features available.
No reviews found!


No comments found for this product. Be the first to comment!